PURPOSE
First, in lab 4a, we had to make 10 milliliters of 5 M NaCl solution. Also, we had to make 100 mL of TE buffer, which is 10 mM TRIS, 1 mM EDTA. In lab 4b, we discovered if DNA could be spooled out of a solution, what DNA looks like, what unique properties it had, and what yield of DNA can be recovered during the isolation. Next, in lab 4I, we prepared and poured an agarose gel for DNA fragment analysis. Lastly, in lab 4j, we discovered the appearance of different DNA samples on the agarose gel.
MATERIALS
|
Gel box
Aragose gel TAE buffer concentrate, 40X Tube rack for 1.7 mL Reaction tubes, 1.7 mL Permanent lab marker pens DNA samples Yeast DNA, 50 yg/uL + loading dye pBR322, 50 ug/uL + loading dye Lambda DNA, 50 ug/uL + loading dye Other DNA samples + loading dye Gel loading dye, 6x Micropipet, P-10 Micropipet, P-100 Micropipet tips. P-10 Micropipet tips, P-100 Microcentrifuge Lambda/Hind III, 50 ug/uL + dye Power Supply Ethidium Bromide, 0.5 ug/mL Gel photo imaging system Paper, thermal Printer, thermal Gloves, large Glasses Weigh boat, 5.5" X 5.5" EDTA, disodium salt Bottle, 125 mL Graduated cylinder, 100 mL pH paper, wide/narrow-range Hydrochloric acid Sodium hydroxide Glass rods Filtering flasks, 250 mL, 0.2 um Vacuum pump and "trap" jar |
TAE concentrate, 40x
Beakers, 600 mL Agarose Balance, tabletop miligram Weigh Boat 3.5" X 3.5" Lab scoops Media bottle, 250 mL Permanent Lab Marker Pens Microwave Hot hands protectors Glasses Gel box, Horizontal, for agrose gels Beakers, 50 mL Water bath, 65 celcius Beakers, 50 mL DNA, salmon testes Pipet, 2 mL Pipet pump, blue Micropipet, p-1000 Micropipet tips Ethanol, 95% Glass rods Tubes, 15 mL capped Tube racks for 15 mL tubes Lab markers Plastic beaker, 1L tripour Balance, analytical Balance, tabletop miligram Weigh paper, 7.6 X 7.6 cm Weigh boat, 3.5" X 3.5" Lab scoops Sodium Chloride Tubes, 15 mL, capped Tube racks for 15 mL tubes TRIS |
PROCEDURE
4a/4b: Creating DNA Solutions and Spooling DNA
Useful Conversions/Equations:
10 mL= 0.01 L
10 mM= 0.01 M; 100 mL= 0.1 L
1 mM= 0.001 M; 100 mL= 0.1 L
1 mol = 6.022 X 10^23 (particles)
Molarity (M) is the concentration of a solution expressed as the number of moles of solute per liter of solution.
Molarity = X mols(6.022 x 10^23)/ 1 Litre
(Molarity)(Volume)(Formula Weight) = g of substance needed
Procedure:
1) Molarity calculations
Solution One: NaCl: 5M x 0.010 L x 58.44 g/mole = 2.92 grams
Solution Two: TRIS: 0.01 M x 0.1 L x 372.24 g/mole = 0.158 grams
Solution Three: 0.001 M x 0.1 L x 372.24 g/mole = 0.037 grams
2) Create TE Solution by combining Solutions Two and Three
3) Dilute DNA with TE solution in a flask.
4) Add 2.92 grams of NaCl.
5) Add 4 mL of alcohol by trickling it down the side of the flask.
6) Spool DNA using glass rod
7) Put the spooled DNA into a new tube and add 2 mL of fresh TE solution
4i: Making Agarose Gels for Separating and Analyzing DNA Fragments
Equation:
(C1)(V1) = (C2)(V2)
C1 = stock concentration
V1 = volume stock (unknown)
C2= final concentration
V2 = final volume
Procedure:
1) 500 mL of 1x TAE from 40x stock
1x TAE Buffer- (40x)(V) = (500 mL)(1x) V1 = 12.5 mL
2) 50 mL .8% agarose
Agaorse- (0.008)(50 mL) = 0.4 grams
3) Add 0.8% agarose to 100 mL 1X TAE buffer solution.
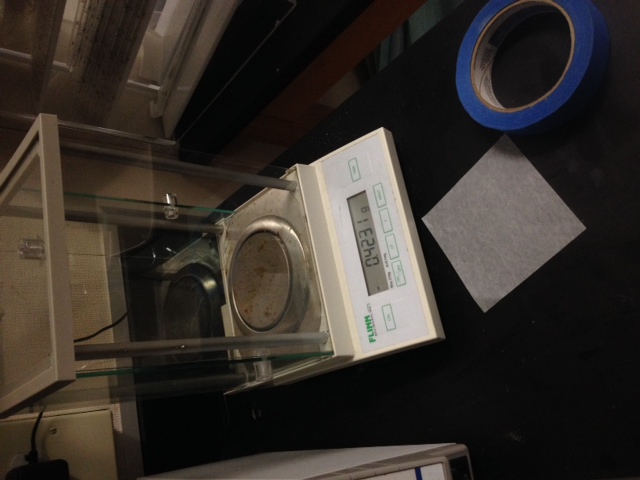
2) Weigh out the required mass of powdered agarose in a weigh boat. Add it to a 250-mL media bottle.
3) Measure out enough TAE buffer to prepare a total of 100 mL of agarose and buffer mixed together. Swirl to mix.
4) Cap the media bottle and swirl the flask to suspend the agarose in the buffer.
5) To dissolve the agarose, microwave for 4 minutes at 50% power. Wait for the solution to boil.
6) Place the hot dissolved agarose solution on a fireproof lab tabletop and let cool to 65 degrees Celsius before pouring into a gel tray.
7) Place a six-well comb into the notches at the end of the gel tray. This will create the necessary wells for the next experiment.
8) Place the gel (on the gel tray) into a gel box.
9) Pour 1X TAE buffer into the gel box and completely submerge the gel.
10) Gently pull the comb out of the gel and make sure the wells are not broken or cracked.
4j: Using Gel Electrophoresis to Study DNA Molecules
1) Prepare the gel and gel box for loading.
2) Carefully secure gates of the gel tray. Make sure the 1X TAe buffer covers the gel by at least 1 centimeter.
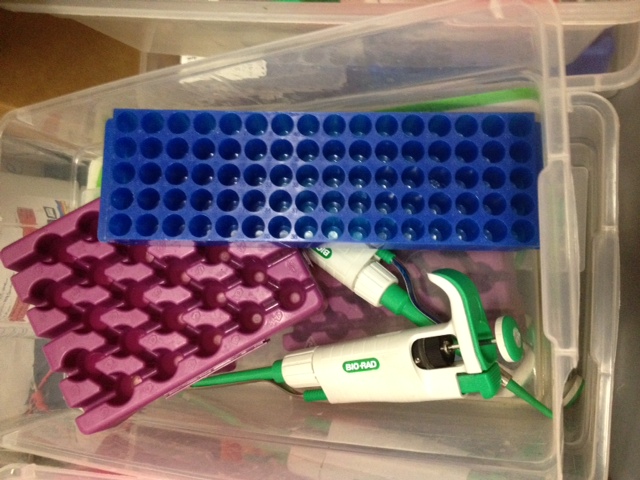
3) Obtain 1.7-mL tubes.
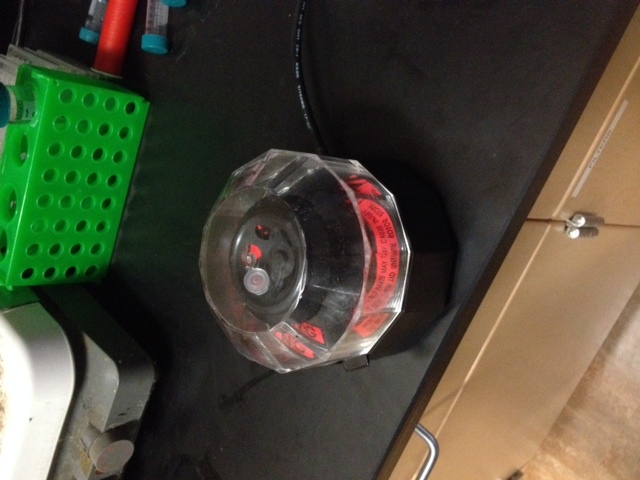
4) Add 20 micro liters of salmon sperm DNA and add 4 micro liters of 6X DNA loading dye. Spin the sample in a minicentrifuge.
5) Load the salmon sperm DNA sample into the wells using a micro pipette.
6) Connect the electrodes of the gel box to the power supply and run the gel at 110 Volts for 45 minutes.
7) Run until you can see the front loading dye halfway down the gel.
8) Cover the gel with EtBr (ethinium bromide) and stain the gel for 20 minutes. Then pour off the EtBr, cover with deionized water, and observe the gel on a UV light box.
9) Analyze the contents of each well, size of the standards, the samples, and the DNA bands.
Useful Conversions/Equations:
10 mL= 0.01 L
10 mM= 0.01 M; 100 mL= 0.1 L
1 mM= 0.001 M; 100 mL= 0.1 L
1 mol = 6.022 X 10^23 (particles)
Molarity (M) is the concentration of a solution expressed as the number of moles of solute per liter of solution.
Molarity = X mols(6.022 x 10^23)/ 1 Litre
(Molarity)(Volume)(Formula Weight) = g of substance needed
Procedure:
1) Molarity calculations
Solution One: NaCl: 5M x 0.010 L x 58.44 g/mole = 2.92 grams
Solution Two: TRIS: 0.01 M x 0.1 L x 372.24 g/mole = 0.158 grams
Solution Three: 0.001 M x 0.1 L x 372.24 g/mole = 0.037 grams
2) Create TE Solution by combining Solutions Two and Three
3) Dilute DNA with TE solution in a flask.
4) Add 2.92 grams of NaCl.
5) Add 4 mL of alcohol by trickling it down the side of the flask.
6) Spool DNA using glass rod
7) Put the spooled DNA into a new tube and add 2 mL of fresh TE solution
4i: Making Agarose Gels for Separating and Analyzing DNA Fragments
Equation:
(C1)(V1) = (C2)(V2)
C1 = stock concentration
V1 = volume stock (unknown)
C2= final concentration
V2 = final volume
Procedure:
1) 500 mL of 1x TAE from 40x stock
1x TAE Buffer- (40x)(V) = (500 mL)(1x) V1 = 12.5 mL
2) 50 mL .8% agarose
Agaorse- (0.008)(50 mL) = 0.4 grams
3) Add 0.8% agarose to 100 mL 1X TAE buffer solution.
2) Weigh out the required mass of powdered agarose in a weigh boat. Add it to a 250-mL media bottle.
3) Measure out enough TAE buffer to prepare a total of 100 mL of agarose and buffer mixed together. Swirl to mix.
4) Cap the media bottle and swirl the flask to suspend the agarose in the buffer.
5) To dissolve the agarose, microwave for 4 minutes at 50% power. Wait for the solution to boil.
6) Place the hot dissolved agarose solution on a fireproof lab tabletop and let cool to 65 degrees Celsius before pouring into a gel tray.
7) Place a six-well comb into the notches at the end of the gel tray. This will create the necessary wells for the next experiment.
8) Place the gel (on the gel tray) into a gel box.
9) Pour 1X TAE buffer into the gel box and completely submerge the gel.
10) Gently pull the comb out of the gel and make sure the wells are not broken or cracked.
4j: Using Gel Electrophoresis to Study DNA Molecules
1) Prepare the gel and gel box for loading.
2) Carefully secure gates of the gel tray. Make sure the 1X TAe buffer covers the gel by at least 1 centimeter.
3) Obtain 1.7-mL tubes.
4) Add 20 micro liters of salmon sperm DNA and add 4 micro liters of 6X DNA loading dye. Spin the sample in a minicentrifuge.
5) Load the salmon sperm DNA sample into the wells using a micro pipette.
6) Connect the electrodes of the gel box to the power supply and run the gel at 110 Volts for 45 minutes.
7) Run until you can see the front loading dye halfway down the gel.
8) Cover the gel with EtBr (ethinium bromide) and stain the gel for 20 minutes. Then pour off the EtBr, cover with deionized water, and observe the gel on a UV light box.
9) Analyze the contents of each well, size of the standards, the samples, and the DNA bands.
DATA ANALYSIS
4a/4b:
Precipitation:
Taking something out of the solution.
The precipitate is what doesn't dissolve in a solution
DNases:
Enzymes that break down DNA
NaCl:
Sodium ions are positively charged (Na+)
Sodium interacts with the phosphate backbone and makes DNA molecules come closer and thereby clump together, which helps it form a precipitate
TRIS:
Maintains the pH of the solution (7 - 8)
If the solution is too basic or too acidic, the macro-molecules will "denature," or come apart, defeating the purpose of the previous precipitation
EDTA:
EDTA is a preservative
Prevents DNase activity
Binds to calcium and magnesium ions, which are co-factors of enzymes that break down proteins and DNA
ie: Food product preservative
4i:
TAE:
Tris Acetate EDTA
A tris buffer
Acetate (CH3OO):
Prevents DAN clumping
EDTA:
Prevents DNases
4j:
Dyes used to track DNA
Glycerol helps DNA sink into slits
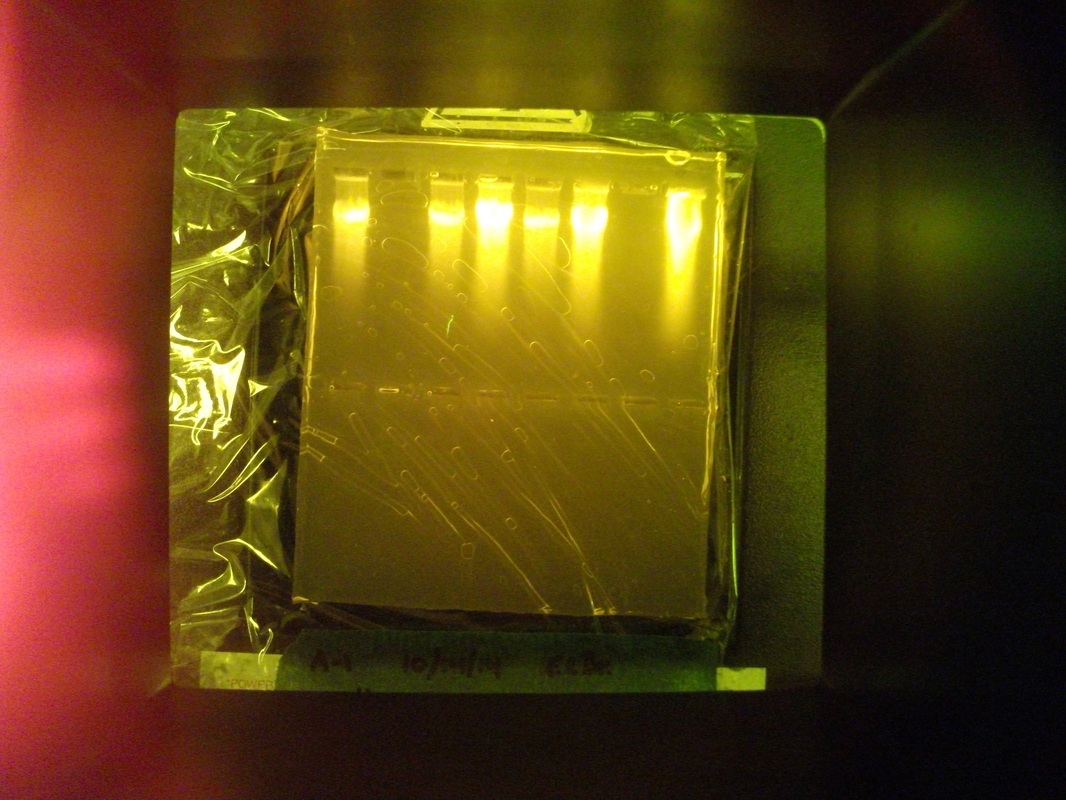
This part of the experiment did not work for any groups. Once we put the gel under the UV lighting, not DNA was seen.
Precipitation:
Taking something out of the solution.
The precipitate is what doesn't dissolve in a solution
DNases:
Enzymes that break down DNA
NaCl:
Sodium ions are positively charged (Na+)
Sodium interacts with the phosphate backbone and makes DNA molecules come closer and thereby clump together, which helps it form a precipitate
TRIS:
Maintains the pH of the solution (7 - 8)
If the solution is too basic or too acidic, the macro-molecules will "denature," or come apart, defeating the purpose of the previous precipitation
EDTA:
EDTA is a preservative
Prevents DNase activity
Binds to calcium and magnesium ions, which are co-factors of enzymes that break down proteins and DNA
ie: Food product preservative
4i:
TAE:
Tris Acetate EDTA
A tris buffer
Acetate (CH3OO):
Prevents DAN clumping
EDTA:
Prevents DNases
4j:
Dyes used to track DNA
Glycerol helps DNA sink into slits
This part of the experiment did not work for any groups. Once we put the gel under the UV lighting, not DNA was seen.
CONCLUSION
Throughout the first three labs, we noticed no problem. Our solutions were fine, our DNA spooled well, and our gels were well made. However, in the last lab, lab 4j, we ran into a problem. The DNA was not visible when we out it under UV lighting. What should have happened was the DNA should have separated based on size. The smallest would have made it the furthest and the biggest DNA bands would not have gone as far. This is because DNA bands are negative and therefore are moved by the electricity moving through the gel. The reason our lab may have failed is because:
1)Stained overnight and the DNA diffused out.
2) Denatured DNA.
3) Dye not loaded correctly.
4) Dye not resuspended before loading in gel.
5) Buffers not made correctly.
6) One of the reagents was bad
We then analyzed each of these reasons as a class. Here is the probability of each one:
1) not likely - DNA is too big
2) not likely - stain's purpose
3-5) not likely if happened to everybody in the class
6) possible - the ethidium bromide is light sensitive and could have broken down
Since 6 was the most likely, we came up with a plan to test it. The time we stained for maid no difference as we stained some for 18 hours and others for only 2 hours, but the results were the same. So next, we made a new batch of stain. It was 20,000 X diluted to 1X. We then stained one gel with each new solution and are waiting for the results.
Discovered Cause: It turned out that the our #6 reason was correct. The stain was to weak and was broken down. Dr. Lb's solution to this problem worked when she created a more concentrated solution stain. The use of separating DNA is that we can analyze the separate bands and analyze them individually.
These techniques could be used in a forensic or biotech labs in order to separate the different components of DNA and analyze them. This way you could find patterns and more detailed evidence.
REFLECTION
My group was very cooperative. Kyle Rockwell and Brandon Kelly were my lab partners. We each took turns making the many solutions that were needed. I handled the gel alone because we only had enough gloves for one person to do so. We learned how to use many new tools such as the vortex, gel tank, and centrifuge mixer. Our work was rather efficient in this lab. We had no trouble making the solutions, however, we could have spread out the work better. We all went to one machine at once, but instead one of us could have been finding the mass of one substance while the others could have been mixing a different solution. We did not make any mistakes in creating solutions, or the gel, but we did have trouble with our DNA in the gel results. As explained in the conclusion, the DNA was not visible. Pipetting was rather difficult and we had to make more DNA and dye solution because we messed up so much. We could have practiced on water before. Another skill I worked on in this lab adjusting the pH of a solution. We added drops of NaOH to adjust the EDTA and TRIS to a more basic pH around 7.5 and 8.5. Our group would add one drop at a time then the solution's pH level by dipping in pH test strips. The color scale on the container determine the pH level. I learned to be careful about adding NaOH because it is dangerous and it can make your solution too basic. Then you have to add 1M of HCl to make the solution more acidic. Lastly, making solutions was rather easy, but fully understanding the equations and what molarity is has me a little confused. I think we need to practice making more solutions so that I can have a concrete knowledge on how to do it.


(Click on pics for labels)
